Customizing UIButton in iOS 15
Buttons are an essential element in iOS apps. If you are developing an app using UIKit, you will probably use UIButton class to create buttons. Creating a button is a straightforward process, but it becomes problematic when it comes to customizations. Soon you will find yourself writing hacks for achieving your desired result. We all have been there, and we have done it. You are not alone. Luckily, iOS 15.0 gives us a new method to customize Buttons much easier using UIButton.Configuration. Let’s get started!
Configuration types in UIButton
UIButton.Configuration comes in four different types, namely plain, filled, gray, and tinted. In this article, we will be focusing only on filled configuration. I will leave the rest of the configurations for you to experiment.
var configuration = UIButton.Configuration.filled()Setting a title in a UIButton
Setting a title is done by using the configuration’s title property.
configuration.title = "Start download"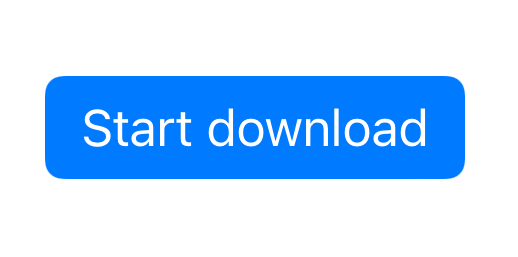
Setting a subtitle in a UIButton
Again, we can make use of the configuration’s subtitle property to set a subtitle. It would be tough to set a subtitle without the configuration API.
configuration.subtitle = "(Downloads a random image)"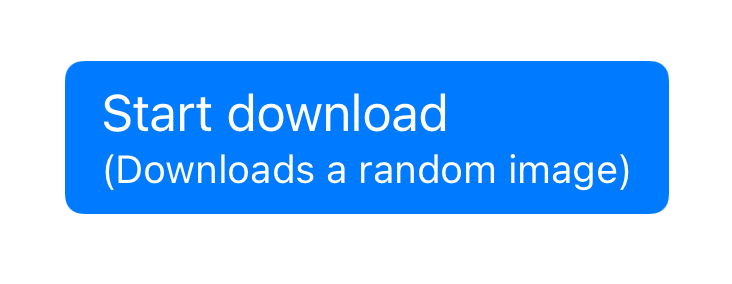
Changing the background color of a UIButton
The color of the UIButton’s background view can be changed using baseBackgroundColor property.
configuration.baseBackgroundColor = .systemOrange
Setting an attributed title in a UIButton
Yes, you read it right. You can set attributed titles as well using the attributedTitle property on the configuration.
configuration.attributedTitle = AttributedString("Start download", attributes: AttributeContainer([NSAttributedString.Key.foregroundColor: UIColor(red: 252/255.0, green: 132.0/255.0, blue: 0/255.0, alpha: 1.0)]))Some of you might have noticed that I am using AttribtedString instead of NSAttributedString. Yes, from iOS 15.0, NSAttributedString has been replaced by AttributedString API. I will be writing more about it in the upcoming articles.

Customizing the background property of a UIButton
We can easily manipulate the shape of the button by using the background property.
configuration.background = .listSidebarCell()
Setting the size of a UIButton
We can set the button’s size to some presets like large, medium, small, and mini.
configuration.buttonSize = .large
Setting the content insets in a UIButton
If we want to adjust the insets of a button, we can use the contentInsets API.
configuration.contentInsets = .init(top: 20, leading: 20, bottom: 20, trailing: 20)
Setting the cornerStyle in a UIButton
The cornerStyle API provides a predefined set of corner style customizations like capsule, large, medium, small, dynamic, and fixed.
configuration.cornerStyle = .capsule
Setting an image in a UIButton
Adding an image to the button and customizing it has become effortless. An important point to note here is that, the image respects the language’s direction.
configuration.image = UIImage(systemName: "arrow.down.square.fill")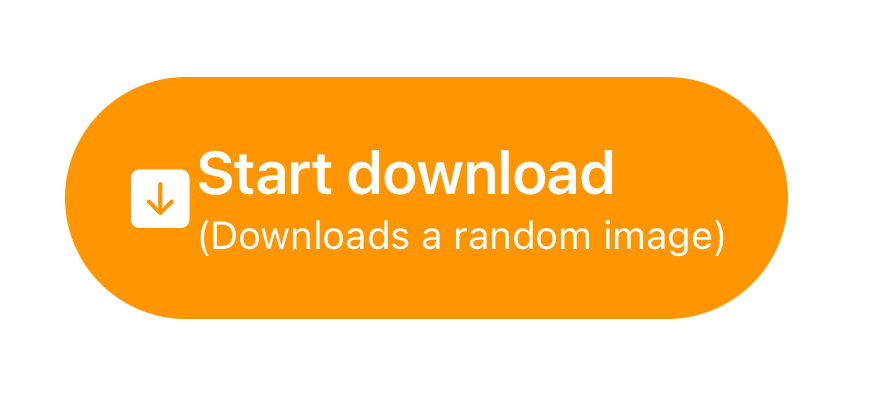
Padding between an image and a title in a UIButton
The UIButton configuration makes it easy to set a padding between the image and the button’s
configuration.imagePadding = 20
Changing the position of an image in a UIButton
The imagePlacement is my favorite property. I have written so many nasty hacks for just changing the position of the image in a UIButton, before iOS 15.0 The imagePlacement property supports the following options - leading, trailing, top, or bottom.
configuration.imagePlacement = .trailing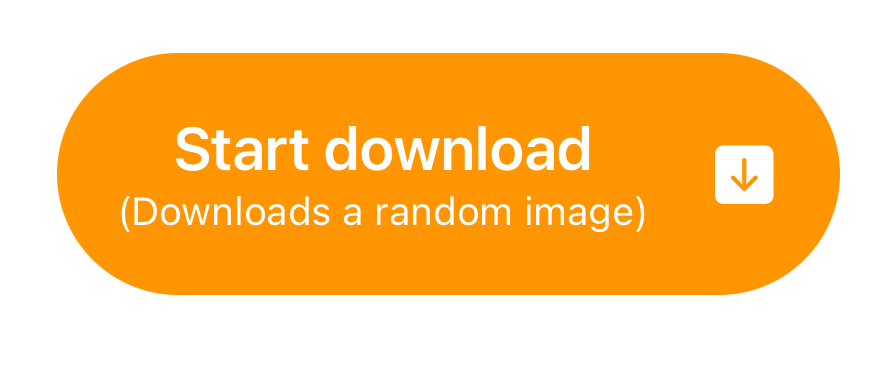
Changing the alignment of the title in a UIButton
The title alignment property of the configuration API allows us to align the title as per our choice. The supported options are leading, automatic, trialing, and center.
configuration.titleAlignment = .center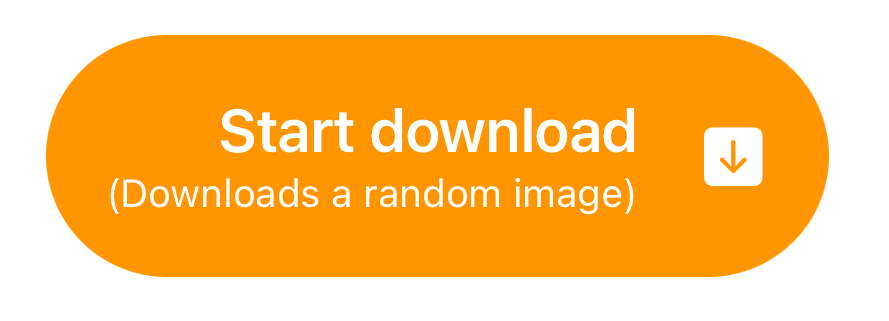
Finally, we initialize the button with the configuration and add it to a view.
let button = UIButton(configuration: configuration, primaryAction: UIAction(handler: { action in
  debugPrint("Download Button tapped!")
}))
self.view.addSubview(button)
button.translatesAutoresizingMaskIntoConstraints = false
NSLayoutConstraint.activate([
  button.centerXAnchor.constraint(equalTo: view.centerXAnchor),
  button.centerYAnchor.constraint(equalTo: view.centerYAnchor)
])
I hope the article was informative and you got to know about the modern ways to customize a UIButton. However, I haven’t explained about UIButton.ConfigurationUpdateHandler, so I will be covering about it in a separate article.
References
[1] https://developer.apple.com/documentation/uikit/uibutton/configuration
About the author
- Rizwan Ahmed - iOS Engineer. Twitter - https://twitter.com/rizwanasifahmed
More articles
- Different methods to remove the last item from an array in Swift
- Exploring Deque in Swift Collections
- Replacing UIImagePickerController with PHPickerViewController
- Embracing Localization in Image Assets
- An effective way to clear entire Userdefaults in Swift
-
Simulating remote push notifications in a simulator
A gentle request. Show your support to indie devs by downloading their apps from the banner displayed below. It will help them in building great apps.

Like our articles? Support us!